Edit M2TS M2TS 編集
This step-by-step tutorial is designed to help you get started using M2TS editor which shows you how to edit M2TS files.
Step by step: how to edit M2TS
Step1. Download and install this M2TS Editor 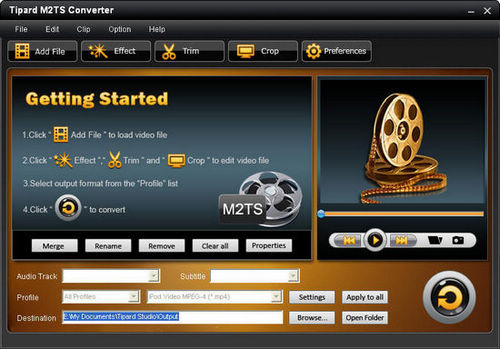
Step2. Import M2TS files you want to edit.
Import M2TS files you want to edit by dragging file to the software interface directly.
Note: Various video and audio formats are supported.
Step3. Choose profile M2TS Editor can act as M2TS converter to convert M2TS file to MPEG and other videos as well as convert general videos to M2TS. As powerful M2TS Converter, it can convert M2TS to AAC, AC3, MP3, M4A. Select proper output format according to your needs.
Note: Before you start the conversion, you can define the video and audio settings.
Click the "Settings" button to open the Settings window.
 For Resolution setting, you can choose the pre-set Resolution from the right drop-down list. You can also directly input your own resolution.
After you set all the output setting parameters, you can click "Save as" to save specified settings as your own profile, which will be grouped into "User Defined" column.
Tips:
Tip1: If you want to merge the selected files into one file you can turn to the  option. As default the merged file is named after the first selected file.
Tip2: Edit video effect
Click "Effect" button on the top of the interface to pop up the video edit effect window.
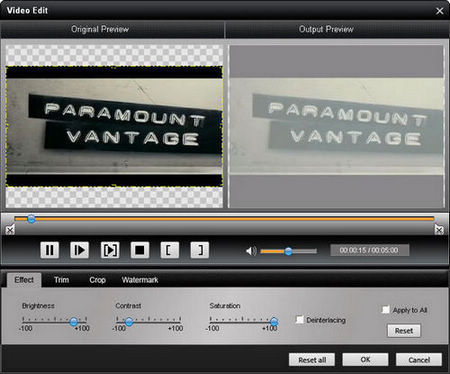
Brightness: Drag and click the Brightness adjustment bar to set the brightness of the video.
Contrast: Drag and click the Contrast adjustment bar to set the contrast of the video.
Saturation: Drag and click the Saturation adjustment bar to set the saturation of the video.
Deinterlacing: when you convert the interlaced video formats such as 720i, 1080i to obtain better output videos, you can set the Deinterlacing function to avoid the mosaic.
Tip3: Trim video
Click  to open the Trim window, and follow the steps below to capture a clip from your movie.
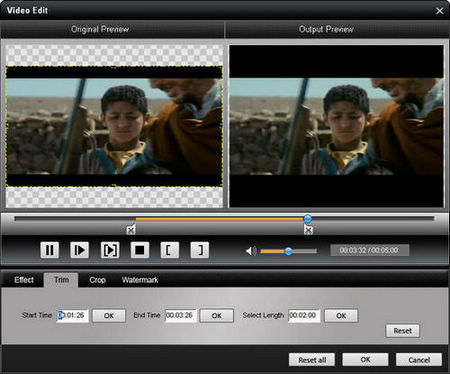
Drag the scissors bars under the preview window when you want to trim, then the time will be shown in the Start Time box and End Time box. That is to say, after you set trim time, the length of the captured clip will be shown in the Select Length box for your reference.
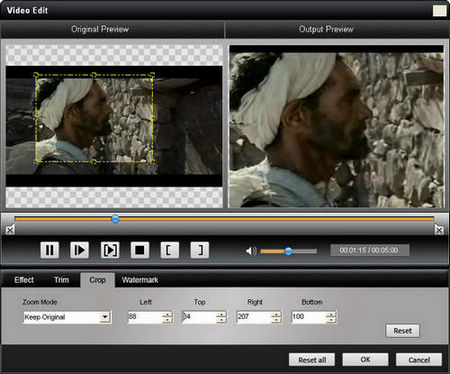
Tip4: Crop video
You can crop your video by adjusting the crop frame and set the output aspect ratio from the Zoom Mode according to your need. There are four choices available: Keep Original, Full Screen, 16:9 and 4:3.
Tip5: Snapshot:
Click "Snapshot" button on the right bottom of the preview window and the current picture in the Preview window will be captured and saved.
Click "Folder" button to open the folder where the captured images are saved. As default the captured image will be saved at users My Documents\ Studio\Snapshot.
Click "Preference" menu, you can reset the snapshot folder and the type of your captured image: JPEG, GIF or BMP formats.
Tip6: Preferences
Click "Preferences" menu to adjust the settings related to conversion.
It includes the output folder, snapshot folder, image type, conversion done, CPU usage.
Step4. Convert When you get ready to convert your movie, click  to start conversion.
Want to edit M2TS video files as what you want? Just free download M2TS Editor. It is your best choice to edit M2TS.